Pitches Menu
Once writers send in their pitches, you can easily manage them by navigating to the Pitch Request page.
- From the left navigation, click on Manage, then click on Pitches.
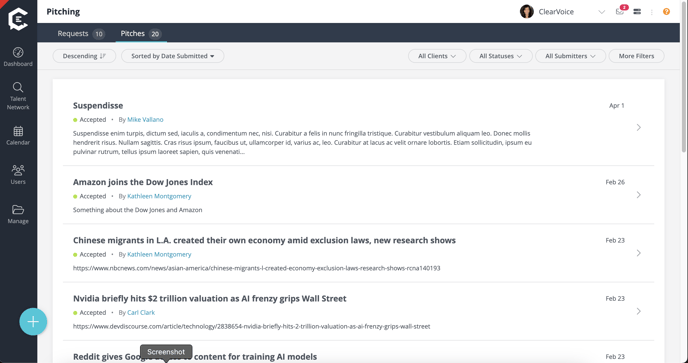
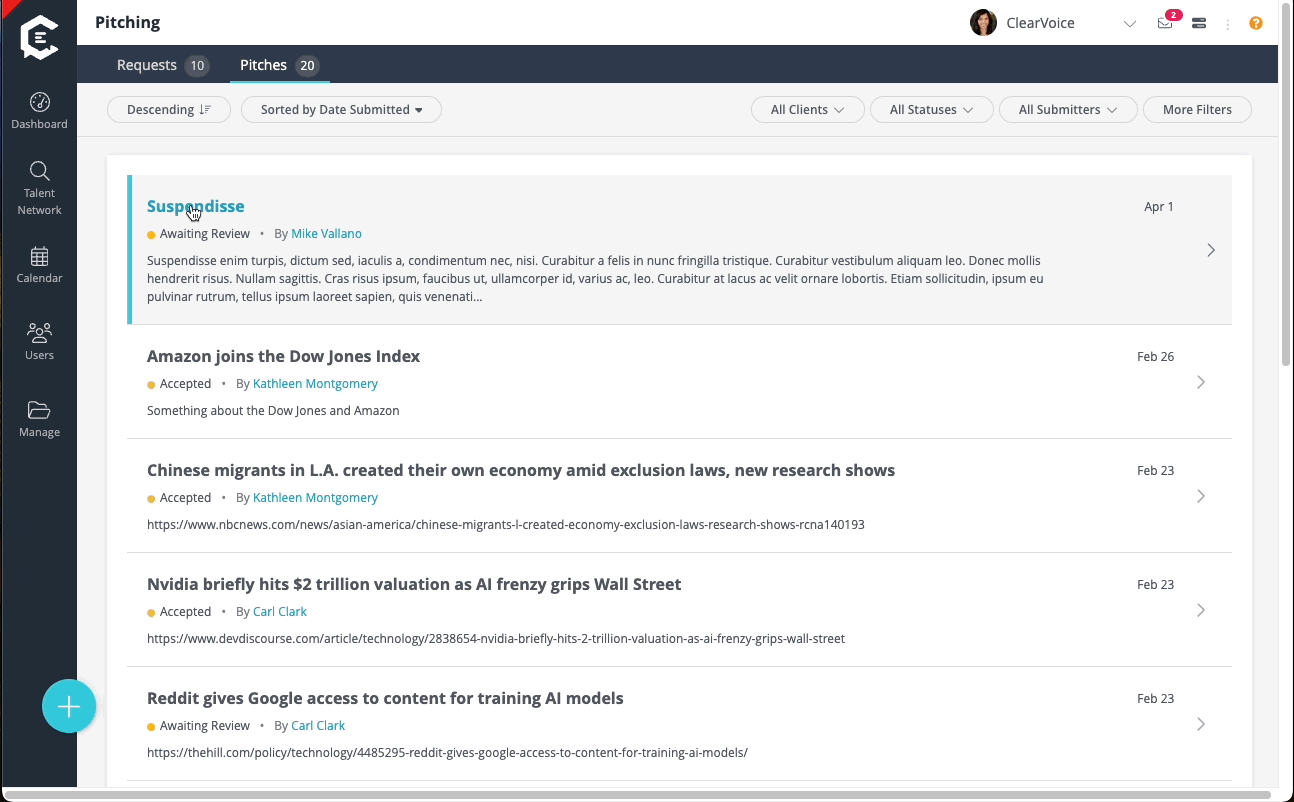
- On this page you can toggle between (a) Requests - the pitch requests that you have sent out and (b) Pitches - content ideas from writers.
As the end date of the Pitch Requests gets closer, the writers will be notified, letting them know to submit a pitch ASAP
Reviewing your Pitches
At the top of the page, you will see filters to better narrow down the list of received pitches.
Within the Pitches tab, you can click on a specific pitch from a writer and view the Pitch Details. To view your original Pitch Request Details, click on View Request.
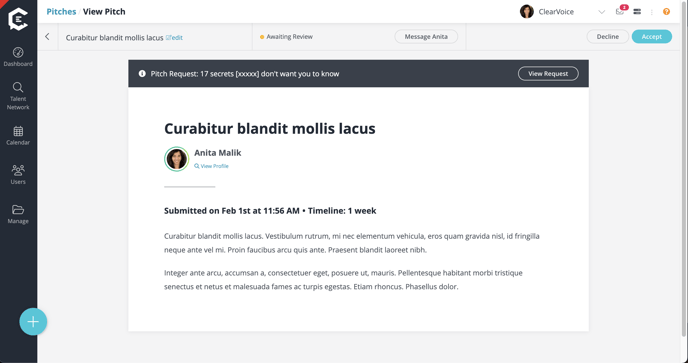
View Profile link under the name of the writer to see their full portfolio.
You can also message the writer from this view if you have any questions about the pitch they have submitted.
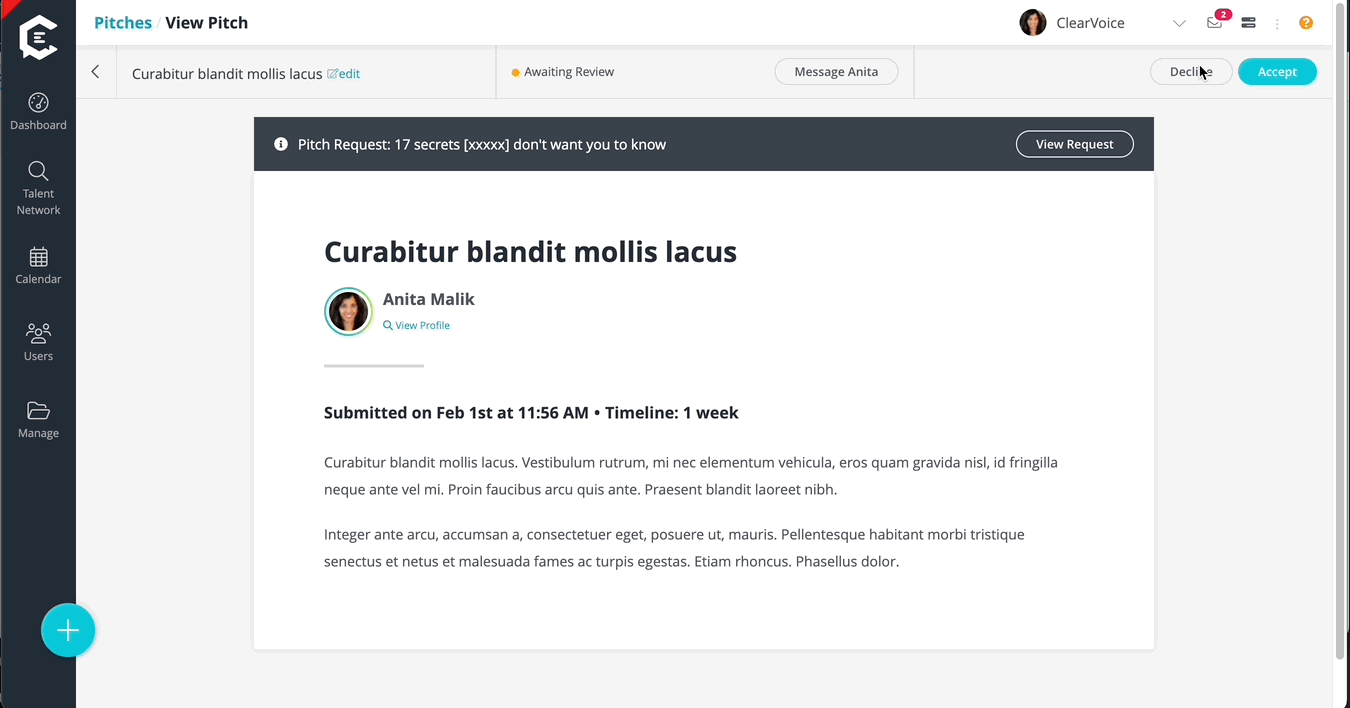
Approve or Decline the Pitch
Decline will let the writer know that you will not be moving forward with their pitch. At this point, you will have the opportunity to let the writer know why their pitch was not accepted.
You will lose access to this pitch once you decline it. Don’t forget, you can always message the writer to ask them to modify their pitch.
Accept will mean you are ready to move forward with the Pitch as an assignment.
When you accept a pitch, you will be shown a modal with assignments to attach the pitch to. You can:
- Attach the pitch to an existing assignment
- Duplicate an assignment to attach the pitch to a copy of the assignment
- To Duplicate, hover your cursor over the assignment you'd like to duplicate, and click the duplicate icon; once duplicated, the new assignment will automatically select for you to add the pitch to
- Select create assignment to make a new blank assignment to attach the pitch to
Once you have the assignment selected to send the pitch to, click Link Assignment to complete the pitch approval
Final Steps- Draft & Send Assignment
- Once you have accepted the pitch, and attached it to an assignment, you can navigate to the assignment by clicking View Assignment.
- After clicking View Assignment, you can update price, title, and any instructions necessary before you send the assignment to the writer by clicking Offer to [WRITER] at the top of the page.
If you have any questions, comments, or concerns, feel free to reach out to us using the live chat in the bottom right of your screen.